Instructions
My Mugly Instructions
- Look at our examples for options on the front page.
- It is best to add your design to the middle of your mug.
- You don’t want to make the bottom too bulky for your cup holders, and you don’t want the design all over the top where you put your mouth.
- It is best to consider your grip, plan where you want to hold your mug for non-slip insulation.
- Start simple, “stick it on” or “carve it out”
- Time consideration (You need to use the Mugly Goo within 40 minutes of opening package).
- Personalization: themes, names, images, a logo, or simply random shapes and blobs
You have to mix your Mugly Goo together for 2 minutes.
Every time you open a new package of Mugly Goo you have to start your timer again and mix your Mugly Goo.
This step is required for your Goo to harden.
Don’t open the Mugly Goo all at once.
Start with light colors and then work with darker colors due to smudging of dark colors.
We recommend wearing gloves, especially with the darker colors or if you have sensitive skin.
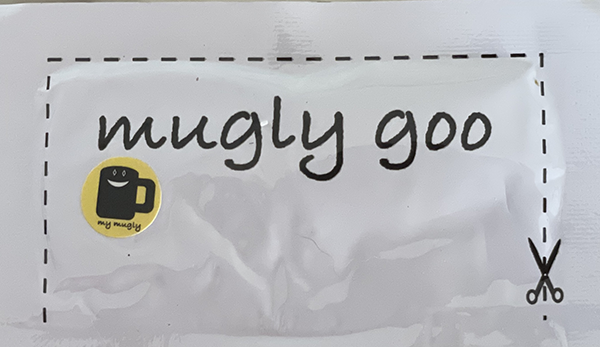
Inside the Mugly Goo you will find two flattened circles of Goo. Open your Mugly Goo, and start your 2-minute Mugly timer.
Start kneading your Mugly Goo together for a full two minutes (if you miss this step your Mugly Goo will not harden).
The kneading step is very, very important. Mugly Goo does not need baking or gluing but it must be activated.
Insufficient mixing is the most common reason for the design not to harden correctly.
During the kneading process press the Mugly Goo into the Mugly Dust to get a light covering on the outside of the Goo.
Knead the Mugly Dust in completely. The Goo should be tacky but not sticky. If it is sticky add a little bit of Dust. (You do NOT need to use all the Mugly Dust).
Knead each color separately. Work with one pack at a time. Then combine colors if desired to make a new color or a swirled color pattern
Add your design onto your mug. You must press your Mugly Goo firmly onto your Mugly.
Blend colors carefully to avoid smudging together (unless that is the affect you want).
It is VERY IMPORTANT to press Mugly Goo firmly and evenly onto your mug.
Once the Goo is applied try not to move it.
Once the general design has been firmly applied you can “finish” it with the Mugly tools in your kit.
We recommend waiting about 30 minutes to carve or adjust the final design. This helps prevent it from accidentally being pulled off the mug.
Consider moving to another part of your design while the prior Mugly Goo begins to harden.
You can smooth and hand polish your Mugly Goo for a smoother finish.
Wipe off any smudges or marks with the enclosed alcohol wipes. You can wipe off your hands with the alcohol pads too.
You can trim any rough and smooth edges on your design with the Mugly tools.
Once you are satisfied with your My Mugly, set it aside to dry for 24 hours.
Enjoy your creation!
Care Instructions
If you have bee attentive to appropriate kneading and firm application of the Mugly Goo you can expect to have your My Mugly last for many months.
It is not dishwasher safe, and hand-washing is recommended.
Video Instructions
Getting Started
Primary Colors
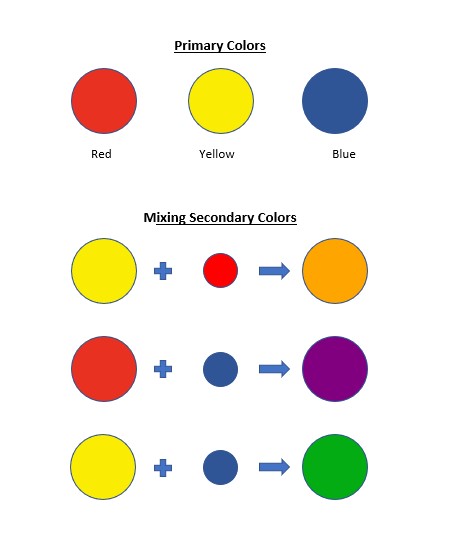
The Primary Colors are Red, Yellow and Blue. By mixing the Primary Colors you can create the Secondary Colors which are Orange, Purple and Green. JUST USE A LITTLE OF THE DARK COLOR.

The Two Minute Timer
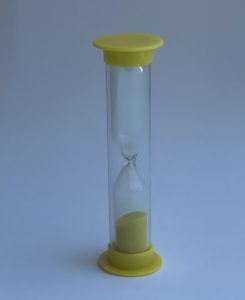
You must knead Mugly Goo for 2 Minutes. Use your timer every time you open a package of Mugly Goo

My Best Tips!
Have a blast. It might not be perfect – but it is MY MUGLY!


